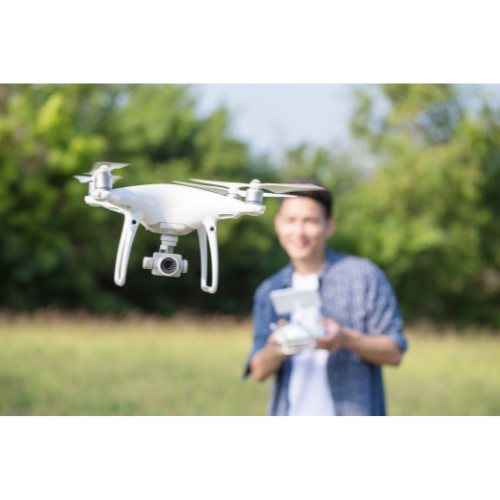
Building a drone for kids can be a fun and educational project that can introduce children to the world of robotics and engineering. Drones, also known as unmanned aerial vehicles (UAVs), are becoming increasingly popular for both recreational and professional use. They can be used for activities such as aerial photography, racing, or even delivering packages.
Things to Consider

Before you begin building a drone for kids, it is important to consider a few things. First, you will need to decide on the type of drone you want to build. There are several different types of drones, including quadcopters, hexacopters, and octocopters. Quadcopter’s are the most common type of drone and are relatively easy to build. They have four rotors and are capable of hovering in place, as well as moving in any direction. Hexacopters and octocopters have six and eight rotors, respectively, and are generally more stable and capable of carrying heavier payloads.
Gathering Materials
Once you have decided on the type of drone you want to build, you will need to gather the necessary materials and tools. These may include a drone frame, motors, propellers, a flight controller, a battery, and a radio transmitter and receiver. You will also need some basic tools such as a soldering iron, wire stripper, and screwdriver.

Frame
The first step in building a drone is to assemble the frame. The frame provides the structure and support for the rest of the drone components. It is important to choose a frame that is strong and lightweight, as this will affect the performance and stability of the drone.
Motors and Propellers

Next, you will need to install the motors and propellers. The motors are responsible for turning the propellers, which provide lift and allow the drone to fly. Make sure to properly mount the motors and connect them to the flight controller, which is the central computer that controls the drone’s movement and stability.
Once the motors and propellers are installed, you can attach the battery and radio transmitter and receiver. The battery is responsible for powering the drone, and the radio transmitter and receiver allow you to control the drone remotely.
Calibrate
After all of the components are installed, you will need to calibrate the drone’s flight controller and test the drone’s performance. This may involve adjusting the orientation and position of the motors and propellers, as well as adjusting the radio transmitter and receiver settings.

Once you have built and tested your drone, it is important to follow proper safety guidelines when flying it. This includes maintaining a safe distance from people and property, and avoiding flying the drone in restricted areas such as near airports or over crowds.
Building a drone for kids can be a rewarding and educational experience. It can teach children about the principles of flight and engineering, and provide a fun and exciting hobby that they can enjoy for years to come.
Check out our blog page for more articles and consider subscribing to our newsletter.
